The core method
Keep a consistent character across scenes
The hardest part of any illustrated series is not drawing one great character — it is drawing that same character again, and again, and having it still read as them. Here is a method that works with generative editing instead of fighting it.
Generic image tools treat every prompt as a fresh start. Ask one for "a fox in a red scarf" ten times and you get ten different foxes. For a story, a comic, or a brand, that is useless: readers recognize characters by their face, their outfit, and a hundred small constants. To keep a character across scenes you have to feed the tool the character, not just describe it — and then change only the scene around them.
Anchor the character before you change anything
Start from a clear image of your character, not a text description. One clean primary reference is enough to begin. The current engine can receive one optional supporting view, while a third workbench slot stays local for comparison. Because multi-reference lift has not been tested, judge each output against the source instead of assuming more inputs guarantee fidelity.
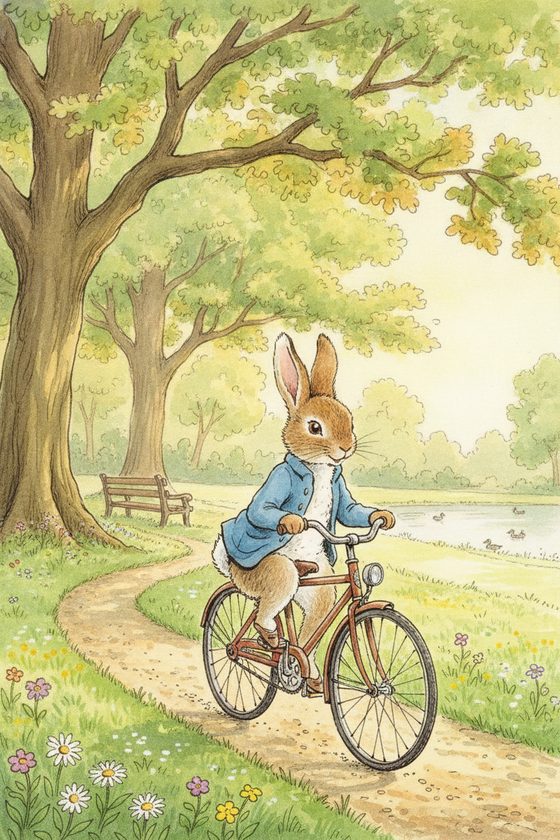
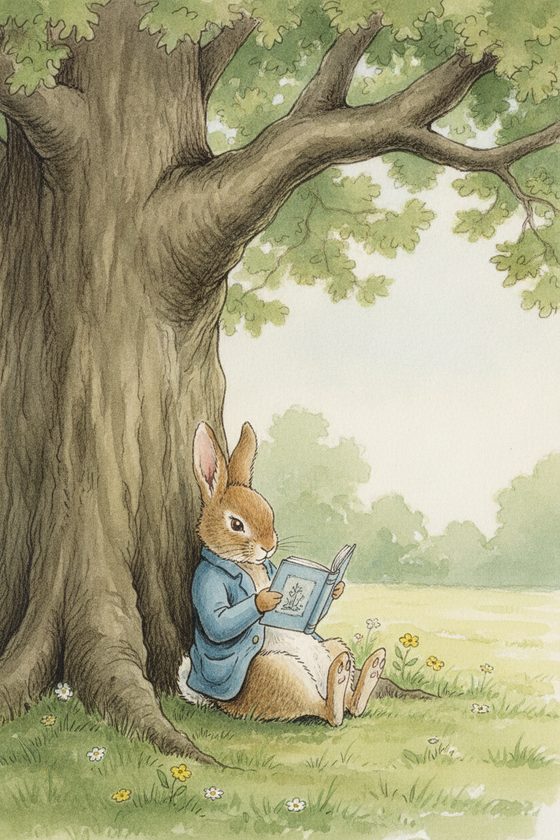
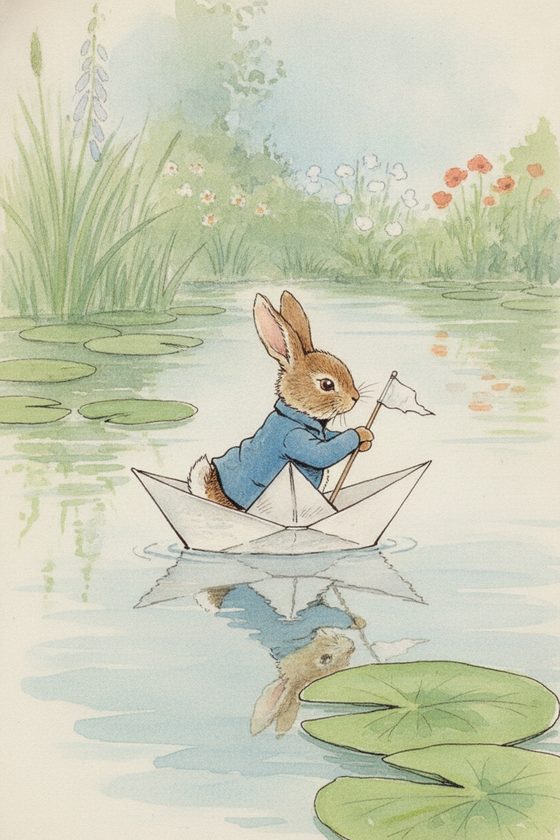
Change one thing at a time
Write your scene prompt as two lists in your head: what changes, and what stays. What changes is the setting, the pose, the action, the lighting. What stays is the outfit, the palette, the distinctive marks, and the drawing style. Naming what must stay — "keep the blue jacket, keep the watercolour look" — measurably improves how much the tool preserves.
- Keep the same reference image across every scene in a series, so each frame is anchored to the same source rather than to the previous output.
- Generate one scene, judge it against your reference, and only move on when it reads as the same character.
- Re-run frames that drift instead of accepting them — a second attempt with the same reference usually lands closer.
Build the strip, not just one image
Think in series from the start. A children's book is a strip of spreads; a webtoon is a strip of panels; a brand campaign is a strip of scenes. Generate them as a set, review them together, and you will spot the one frame that went off-model far faster than judging each in isolation. The free reference-sheet planner helps you lay your references out before you begin.
Distinctive, clearly-shown features are the ones that survive. The more a feature defines your character — a signature colour, a costume silhouette, a prop always in hand — the more reliably it carries. Read what tends to drift so nothing surprises you.
Questions, answered plainly
How many scenes come in a pack?
Choose 4, 12, or 40 selected scenes. Every scene allows up to three successful attempts and one full-resolution final. Generate each from the same original reference and reject frames that drift.
Why does my character change when I only change the pose?
A big pose change asks the engine to show a hidden hand, back view, or new face angle. It may invent those gaps. Return to the original reference, simplify the pose, and re-run instead of accepting an off-model frame.
Is one reference image enough?
Yes, it is enough to start. The person golden set held all 30 scenes from one reference. Illustrated results still need direct review, and we do not claim that multiple references improve hard angles because that test has not been run.
Start your first scene
Bring your character and describe the scene. The workbench keeps them recognizably the same.
One free watermarked preview here — no signup. Choose a pack only after you inspect the scene.